
The exit of quick-freezing equipment is the midpoint of the cold chain, not the endpoint. Product core temperature has just crossed -18℃; if packaging is delayed, carts are not insulated, or products sit exposed in the workshop for over ten minutes before entering cold storage, surface temperature rise and ice crystal recrystallization will erode part of the effect gained from rapid freezing. This segment requires no new equipment, but the timing and temperature of four actions—discharge, packaging, transfer and storage entry—must be defined.
Meeting discharge temperature does not mean quick-freezing is complete
The common definition of food quick-freezing is: passing through the maximum ice crystal formation zone from 0℃ to -5℃ within 30 minutes, with core temperature reaching below -18℃ after freezing is complete. Both conditions—speed and final temperature—must be met; neither alone counts as complete.
What the equipment can achieve depends on cooling capacity. The DKN-LFC-600 liquid nitrogen quick-freezing cabinet achieves a no-load cooling rate of no less than 20℃/min, temperature control accuracy of ±1℃, and in-box temperature uniformity of ±3℃. Tunnel lines differ: the DKN-LFT-1612 mesh belt has an adjustable transit cycle from feed end to discharge end of 8–40 minutes, can cool 10℃ per minute at no load, has temperature control accuracy of ±2℃, and a throughput of approximately 1000 kg/h (varies with product and packaging method).
Cabinet discharge involves opening the door and removing the entire batch, while tunnel discharge is continuous—these two rhythms determine completely different management approaches for the downstream segment.
Should packaging be placed before or after discharge
This is a step often glossed over on site; two principles can be applied first.
Vacuum packaging, modified atmosphere packaging, skin packaging and similar methods requiring air extraction or sealing are generally placed after freezing is complete. Vacuuming before freezing deforms soft products, and residual moisture inside the package forms an ice shell during freezing.
Ordinary bags, cartons, trays and similar protective packaging can be completed before freezing, provided the material is low-temperature resistant and does not block contact between cold air and the product surface. Packaging with thick foam or sealed plastic film creates an insulating layer, and freezing time must be extended based on actual measurement.
The criterion is not the packaging format but whether the cooling curve slows after packaging. During trial runs, process the same batch as bare product and packaged product, compare the time difference for core temperature to reach -18℃—that difference is the cost of packaging.
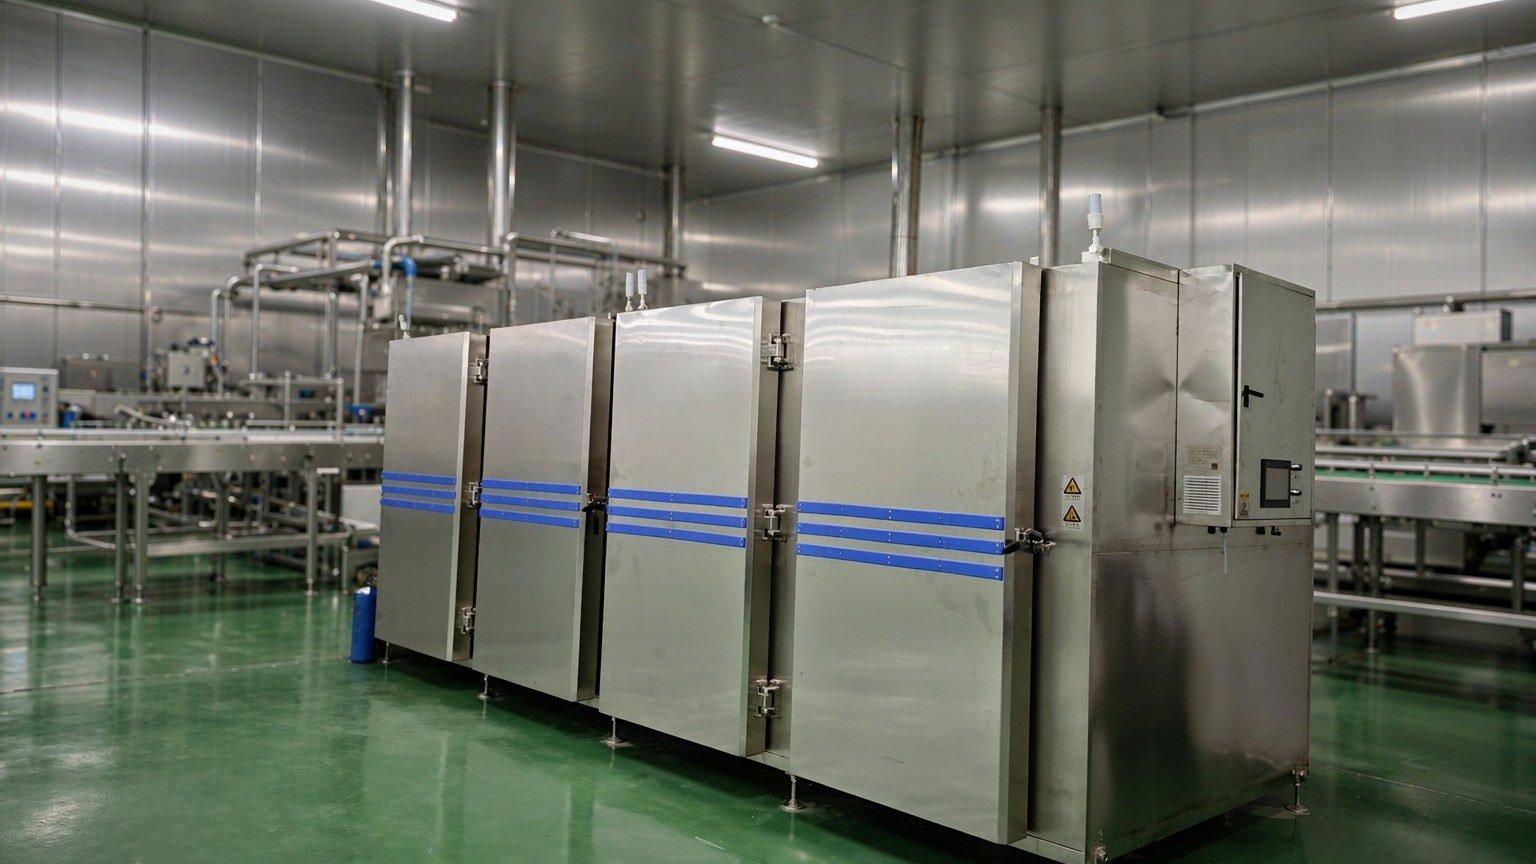
Three times and one temperature to define for the transfer segment
| Checkpoint | What to define | Common on-site practice |
|---|---|---|
| Discharge to start of packaging | Allowed dwell time | Enter packaging station as soon as possible after discharge |
| Packaging duration | Time to complete packaging per batch or per pallet | Calculate workstation count based on daily capacity to avoid queuing for packaging |
| Packaging complete to cold storage entry | Transfer distance and time | Shorten the route; place cold storage door on the transfer area side |
| Transfer insulation | Whether carts and bins are insulated | Use covered insulated carts for long distances or high-temperature seasons |
Exhaust at the discharge end also belongs to this segment. Both ends of the tunnel have exhaust ports connected to high-flow exhaust fans, which extract overflowed low-temperature nitrogen gas—keeping workshop oxygen concentration within safe limits and preventing cold air escape that wastes liquid nitrogen. If exhaust volume is set too high, product surfaces at the discharge port begin to warm; if too low, cold air escapes into the workshop. The balance point is determined during trial runs, not by feel.
After entering cold storage: storage temperature and stacking
Quick-frozen products enter the frozen storage room, typically set at -18℃ or lower, subject to project requirements and local regulations. The storage thermometer reads the return air outlet or storage air temperature; actual monitoring requires three locations: storage door entrance, stack center, and return air outlet.
Stacking method directly determines whether cooling is uniform. Leave air channels between stacks, do not press against walls or ceilings, and do not completely seal pallet surfaces. During initial storage, product core temperature may be slightly higher than surface temperature; stacking too densely causes stack-center temperature to rise.
Quality continues to change after storage entry; ice crystal recrystallization caused by temperature fluctuations is the main risk at this stage—see Frozen Storage Temperature Fluctuation and Ice Crystal Recrystallization. One point to repeat here: frequent door openings and improperly set defrost cycles are the main sources of storage temperature fluctuation.
Four commonly overlooked steps on site
- Product accumulation at the discharge port. Discharge speed does not match packaging speed, products queue at the discharge end, and surfaces repeatedly frost and melt.
- Bare products pushed long distances through the workshop. At high workshop temperature and humidity, surface condensation forms, which becomes an ice shell after entering cold storage.
- Insulated carts used as ordinary carts. Lids left open, seals damaged—insulation is effectively absent.
- Storage records note time but not temperature. Without both measured values—discharge temperature and storage entry temperature—it is impossible to identify where the loss occurred.
When selecting equipment, the convenience of this segment can be considered in advance. Cabinet equipment can be equipped with push-through carts to reduce secondary transfer; tunnel discharge ends can connect to conveyors or receiving tables to link discharge with packaging stations. For related model parameters, see Liquid Nitrogen Quick-Freezing Tunnel and Liquid Nitrogen Quick-Freezing Cabinet.
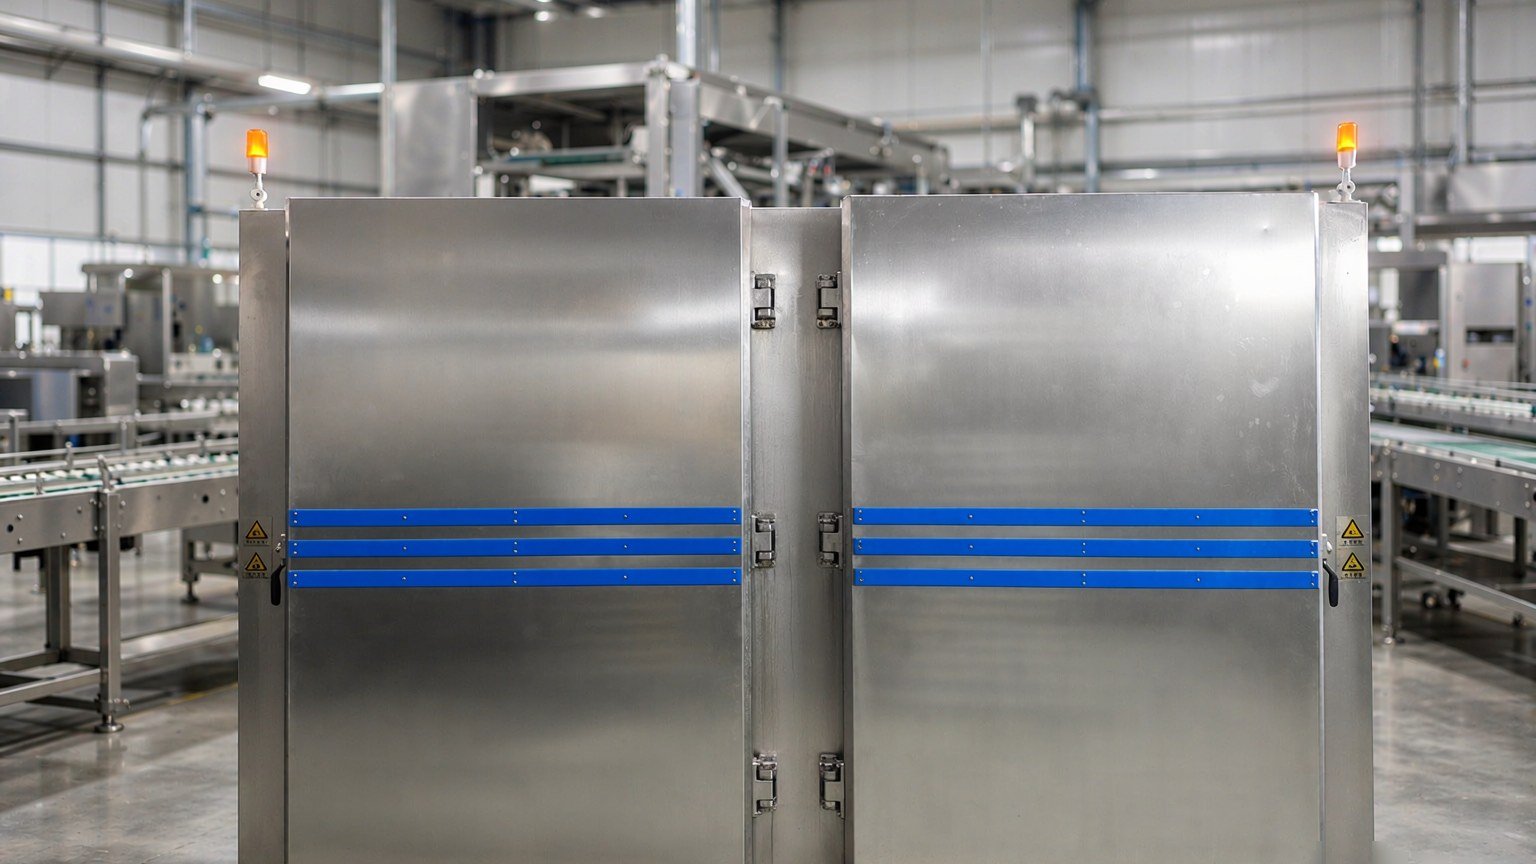
Applicable users and configuration recommendations
Three types of sites particularly need to write this segment into their procedures: categories with high product value and sensitivity to moisture loss, where bare exposure time after discharge must be counted in minutes; layouts where the workshop and cold storage are far apart and require crossing non-low-temperature areas; and projects in high-temperature, high-humidity regions in summer, where condensation and temperature rise risks are more pronounced than in northern regions.
For configuration: short-distance transfer can use stainless steel carts with insulated covers; for distances exceeding one workshop or requiring cross-building transport, covered insulated carts are more reliable. When ordering equipment, confirm the discharge end format and height to facilitate subsequent connection to conveyors or receiving tables.
Frequently asked questions
Core temperature is already -18℃—why must packaging follow so closely?
Core temperature meeting the standard only indicates internal freezing is complete. Product surfaces exposed to workshop air after discharge rapidly absorb heat, warm up and condense; repeated frosting and melting damages surface tissue, and thawing loss becomes more pronounced. The purpose of packaging is to provide a stable environment for the surface.
Does packaging material affect freezing time?
Yes, depending on whether it insulates. Thin bags and paper trays have little effect; thick foam, sealed plastic film and full-carton packaging create insulating layers, and freezing time must be extended based on actual measurement. It is recommended to compare bare product and packaged product during trial runs, using the time difference for core temperature to reach -18℃ as the basis.
Can ordinary carts be used for transfer after discharge?
For short distances, low workshop temperatures and short transfer times, yes. For long distances, cross-building transport, or sites with high workshop temperature and humidity, covered insulated carts are recommended. The assessment method is straightforward: measure product surface temperature once before storage entry and compare with discharge time—a large difference indicates this segment needs insulation.
Storage display shows -18℃—does that mean products are fine?
The storage thermometer reads the return air outlet or air temperature, not the stack center. During initial storage, product core temperature may be slightly higher than surface temperature; overly dense stacking and blocked air channels cause stack-center temperature rise. It is recommended to spot-check at the stack center and retain both measured values—discharge and storage entry.
From discharge through packaging, transfer and storage entry, this segment requires no additional equipment investment yet determines the actual effect of the quick-freezing process. For projects with specific production lines and transfer layouts, provide your workshop floor plan and daily output when contacting us; we will offer connection recommendations based on site conditions.